Professional Tips for Painting Retaining Walls
Retaining walls play a vital role in both your overall property value and enhancement. These walls make a great addition to your property’s exterior that are functional and versatile.
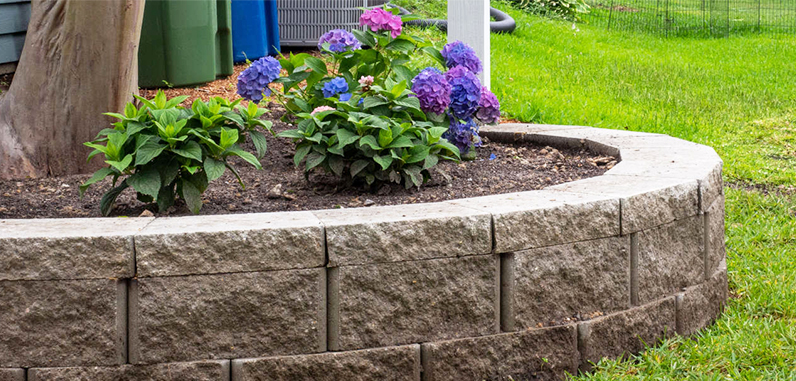
The Natural look of stone or concrete are the most common design when it comes to retaining walls as décor. But you also can to paint these walls with new striking designs to achieve more modern look. At first glance, painting a concrete or stone retaining wall might seem like an easy job; yet, the massive size of the surface and high level of maintenance can prove challenging. And if you used the wrong material or bad application can cause damage to your wall, trapping in moisture and other containments.
In this article, our interior and exterior house painter listed steps you can follow to paint retaining wall. Let’s get started!
The process of painting retaining walls can be divided into multiple steps, like any exterior painting application. Painting retaining walls can be more difficult that regular exterior wall due to the uneven material used. If you’re not very confident with you painting skill, we’d recommend you to call a professional to undergo the task.
1. Find and Repair Existing Problems
After several years damage to retaining walls is inevitable. Some of the problems are cracking, bulging and sagging walls. Poor draining or defected footing are the most common causes. Before you start the painting process, these cracks and bulges will need to be repaired by a professional. But if it’s a minor crack, it can be by chiselling the hole and filling it with hydraulic cement. You can also fix surfaces gap using elastomeric caulks.
2. Gather the Necessary Painting Supplies
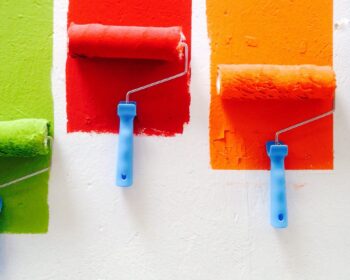
To paint retaining walls there are several supplies you need to prepare, such as paint trays, wide paint brushes-handles, rollers, paint sprayer, putty knives, mixing stick and safety-step ladders. Last but not least, you need to prepare specialized latex exterior paints. What make this paint special is they contain additives like fungicides and pesticides as addition to standard water and temperature resistance.
3. Prepare the Wall Surfaces for Painting
With the equipment prepared and ready to use, it’s time to prepare the walls for the paint. First, for relatively new retaining walls wash and rinse the entire walls thoroughly with water. Let the walls dry then clean the surface with standardized retaining surface cleaner.
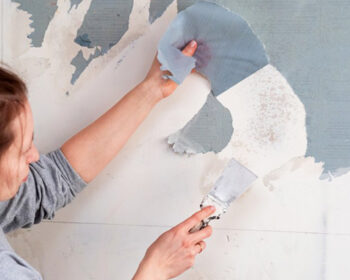
For older retaining walls, remove moss and mold using power washing. Then, use putty knife to fill holes after the walls are thoroughly washed and dry. Once cleaned, cover the entire wall with two coats of primer.
4. Start the Paint Job
Begin painting from small sections, edges, corners and places, use a small brush to paint. Once the details are painted out, use a wide paint roller, following the same direction to avoid overcoating. You can opt to use paint sprayer to cover more area if you have even larger retaining wall surfaces. Once the painting is evenly applied, let the coat dry for one or two days and apply a second coating if required.


