Paint Over Wallpapers? Why not?
We always told to remove wallpapers before doing a paint job. We agree, but it is not 100% true. In some special cases, removing wallpaper might do more harm than good to your walls, so painting over the wallpaper is more preferable. In this article, we will try our best to give you the right answer to question such as, “Should I paint over my wallpaper?”, “Can it even be done?”, “How am I going to do it?”
Can You Paint Over Wallpaper?
If you ask an interior or exterior painters or paint manufacturers, They will likely to tell you that the best approach is to remove the wallpaper first and remove any residual adhesive before painting. But if the wallpaper was installed over unfinished drywall or plaster, removing the wallpaper can actually harm the wall beneath. Or you might be facing the removal of multiple layers of wallpaper, which would make the task exponentially more difficult.
When Not to Paint Over Wallpaper
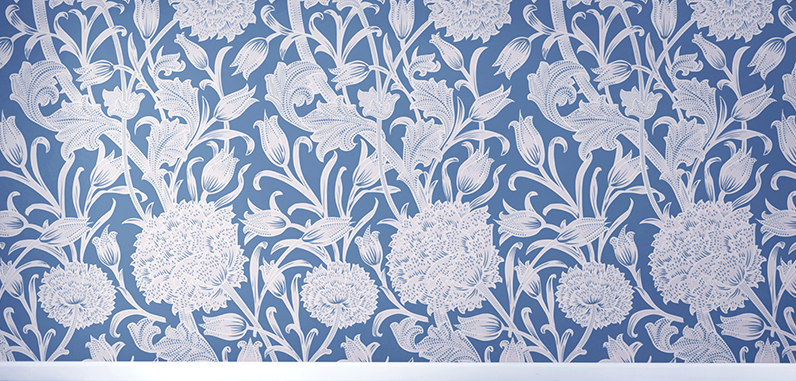
There are certain types wallpaper such as fabric-backed vinyl that should not be painted over. And you also should not paint over some condition when there are peeling in multiple places. But the good news is that these types of wallpaper are fairly easy to remove. To make it easier to decide, the rule of thumb is that the bad candidates for painting over are easy to remove, and the wallpaper that would be difficult to remove is a good candidate for painting over.
Steps for Painting Over Wallpaper
Follow these steps to learn how to paint over wallpaper in your home.
Step 1: Clean the walls
Wipe the dust and dirt off the walls with a barely damp cloth. Primer won’t stick well to when there is a layer of dust. You might need some TSP to clean walls that are greasy and grimy, like kitchen walls. Keep in mind to not soak the walls with the water or solution because it could soften the adhesive below the wallpaper and cause it to loosen or bubble. Let the walls to dry overnight.
Step 2: Repair any damages to the wallpaper
Use a thin layer of wallpaper seam adhesive to reattach peeling edges or seams. Or you can use putty knife to lift those areas and cut them with spackle to create a level surface. Then sand lightly when completely dry. If the wallpaper has a texture you don’t want to detect through the paint, the whole wall should be sanded until smooth, using either a palm or orbital sander. With a slightly damp cloth, wipe away dust.
Step 3: Tape off molding and trim
Carefully tape off any molding, trim, wainscot, or baseboard you want to protect with painter tape.
Step 4: Prime the walls
Always use oil-based primer and don’t use water-based one. That’s because a water-based primer could soak into the wallpaper and loosen the adhesive. An oil-based primer will not do that. Then let it dry and make sure there is plenty of ventilation in the space.
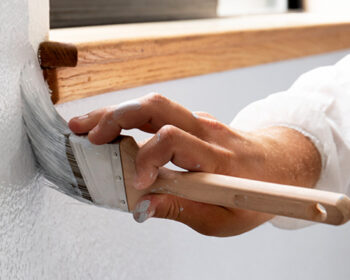
Step 5: Start painting
Once the wallpaper is cleaned, repaired, and primed, paint it as you would any other surface. Most of the time, You’ll need two coats, with plenty of drying time in between. Especially when your wallpaper has a bold pattern, or if you are applying light-colored paint over dark-colored wallpaper.
Painting over wallpaper can be done, and sometimes it should be done rather than removing the wallpaper.