Follow These 5 Steps to Properly Touch Up Your Wall Paint
Whether you’re switching out the gallery wall for the first piece of grown-up art or covering up the masterpiece of your little one’s drawing, there are several situations that might justify a touch-up of a wall color. Although it can seem easy enough to touch up color on wall paint, there are a few steps you should follow to get it right. Read on for the best advice from pro interior and exterior house painter on how to tweak paint the correct way before you grab your paint brush, so you can keep your paint finish looking like new.
Before you get started, you should measure the touch up area. If the area is small (few inches all around), you should get great results with a simple wall paint touch up. But if the area in question is larger, repainting the entire wall will deliver the best results Once you’re ready, follow these steps:
Clean the area
Clean the area by rubbing down the wall with a damp, but not wet, sponge (too much water will leave marks or, worse, produce mildewy conditions down the road) and a little bit of mild dishwashing liquid before touching up the paint.
Sand
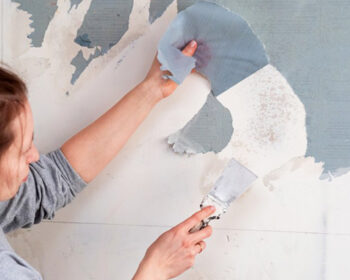
Use a 120-grit sanding sponge to gently smooth the area and clear any dirt particles or accumulation if needed (typically only if you’ve filled in holes or covered up other imperfection with spackle).
Skip The Primer
If the wall has been primed and finished the correct way to begin with, you can usually do away with the touch-up primer. This will mean the old and new paint is combined more evenly.
Paint
The best paint you can use for this project is the leftover paint, if there is any. Not only the paint, if possible find the same tools. It help you gain the consistent finish. If you have to buy new paint, make sure the color and finish are exactly the same as the original.
Before you start a touch-up, stir any residual paint well, as colorants would probably have settled if the paint sat around for a while.
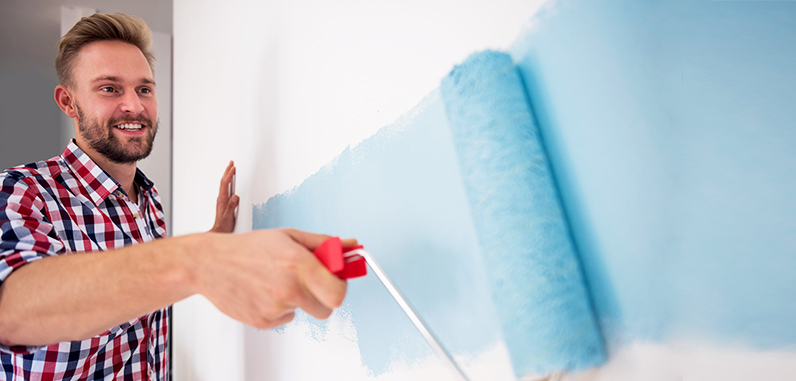
Using as little paint as possible, apply small amounts of paint directly to the wall, beginning toward the center of the touch-up area and feathering it out lightly into the surrounding paint until you reach your desired coverage.
Let It Dry
You should instantly see lovely results, but to be sure, let your touched-up paint dry completely. If you notice it, the most popular explanation why the touch-up paint on your walls does not match is that the paint on your walls will fade over time from exposure to the sun. It’s best to repaint the whole wall if that is the case.


