Wallpaper Removal Made Easy With 5 Simple Steps
If you currently have wallpaper on your walls and want to replace it with paint, you’ve come to the right place. If you moved into house or apartment with the wallpaper, there’s a fair chance it’s out of date now. Presume, though, that the wallpaper on the walls was applied using a glue-and-paste process. Under any case, scraping the wallpaper won’t be as easy as picking a corner and ripping it off. This style of wallpaper has a specific method for removal. If you don’t take the appropriate precautions, the walls can be harmed. Here are steps that professional interior and exterior house painter do to strip wallpaper without risking any damage to your walls.
Preparation
You’ll begin by preparing the area where you’ll be working. Remove everything from your walls to start. All must be taken down, like knickknacks, photos, nails, and drawings. Then, make sure the floors and walls are ready. Cover the baseboard and wall sockets with blue tape. The blue tape can also be used to secure your floor paper covering. Removing wallpaper can be a messy process, and letting some of the broken down, runny glue seep into your wooden floors or carpet can result in costly repairs.
Wallpaper roller remover
Start removing wallpaper from our walls with the wallpaper roller remover once all of these preparation steps have been completed. This tool can assist you in reaching deep enough into your wallpaper to get under it while not damaging your walls. Be sure to fill the whole wall equally, as this would be crucial in the next phase of the process.
Spray
If you’ve finished with the wallpaper roller remover, start spraying a wallpaper removal solution down the entire wall. Be sure the liquid is warm so it can assist in the dissolution of the adhesive under the wallpaper. Since you’ve already been over the wall with the wallpaper roller remover, the solution can quickly and evenly penetrate the wallpaper. Once you’ve sprayed the whole wall, don’t start peeling at the paper right away! Allow 10 minutes for the wall to soak in the solution before yanking at a corner and peeling it down.
Peel
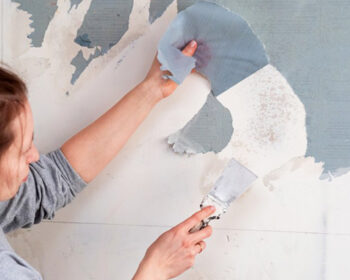
Start peeling off! More solution can be added if necessary, and paint remover can be used to erase any of the more difficult glue splotches. Since the undersides of the removed wallpaper bits may have sticky and slimy glue, make sure to put them in your garbage bags right away. If you don’t, they’ll dry up on the tile or carpet, causing more work and frustration.
Clean
When you’ve removed all of the wallpaper, you’ll need to clean up the residual glue residue on the walls. Simply run your hand down the paperless wall if you don’t think there is any left. Is it a little wet and soiled? If it does, there’s already some glue that has to be removed. Painting over this will lead to problems in the future, so it’s in everyone’s best interest to get rid of the glue. Fortunately, this procedure is simple. Wash the wall gently with the scrub brush and some warm spray. Any excess glue will be broken down, and you can wipe it up with a clean rag and some spray.


